Installing NixOS
Installing Nix in qemu wasn't difficult but it was way more annoying than it needed to be. Not because of Nix but because of qemu and wayland. I couldn't get qemu to spit things out to the terminal so I went with using vnc. vncviewer under wayland was god awful and would flicker and break like crazy. It was unusable. I ended up flipping to another session using Alt+F2 and using vncviewer under x11.
The official installation guide can be found at:
https://nixos.org/manual/nixos/stable/#sec-installation-manual
The first step to installing nixos is to get nixos and create an empty hard drive.
You can get the nixos iso from here, make sure to scroll down to NixOS: the Linux Distribution.
mkdir nixos
cd nixos
wget https://channels.nixos.org/nixos-23.11/latest-nixos-minimal-x86_64-linux.iso
qemu-img create -f raw hd.img 20G
Next up is to launch qemu:
qemu-system-x86_64 -m 2G -nic user -boot d -cdrom latest-nixos-minimal-x86_64-linux.iso -drive file=hd.img,format=raw
This will run qemu and let you connect over vnc.
Booting up the installation iso
Once you connect through vnc, you will see the following screen:
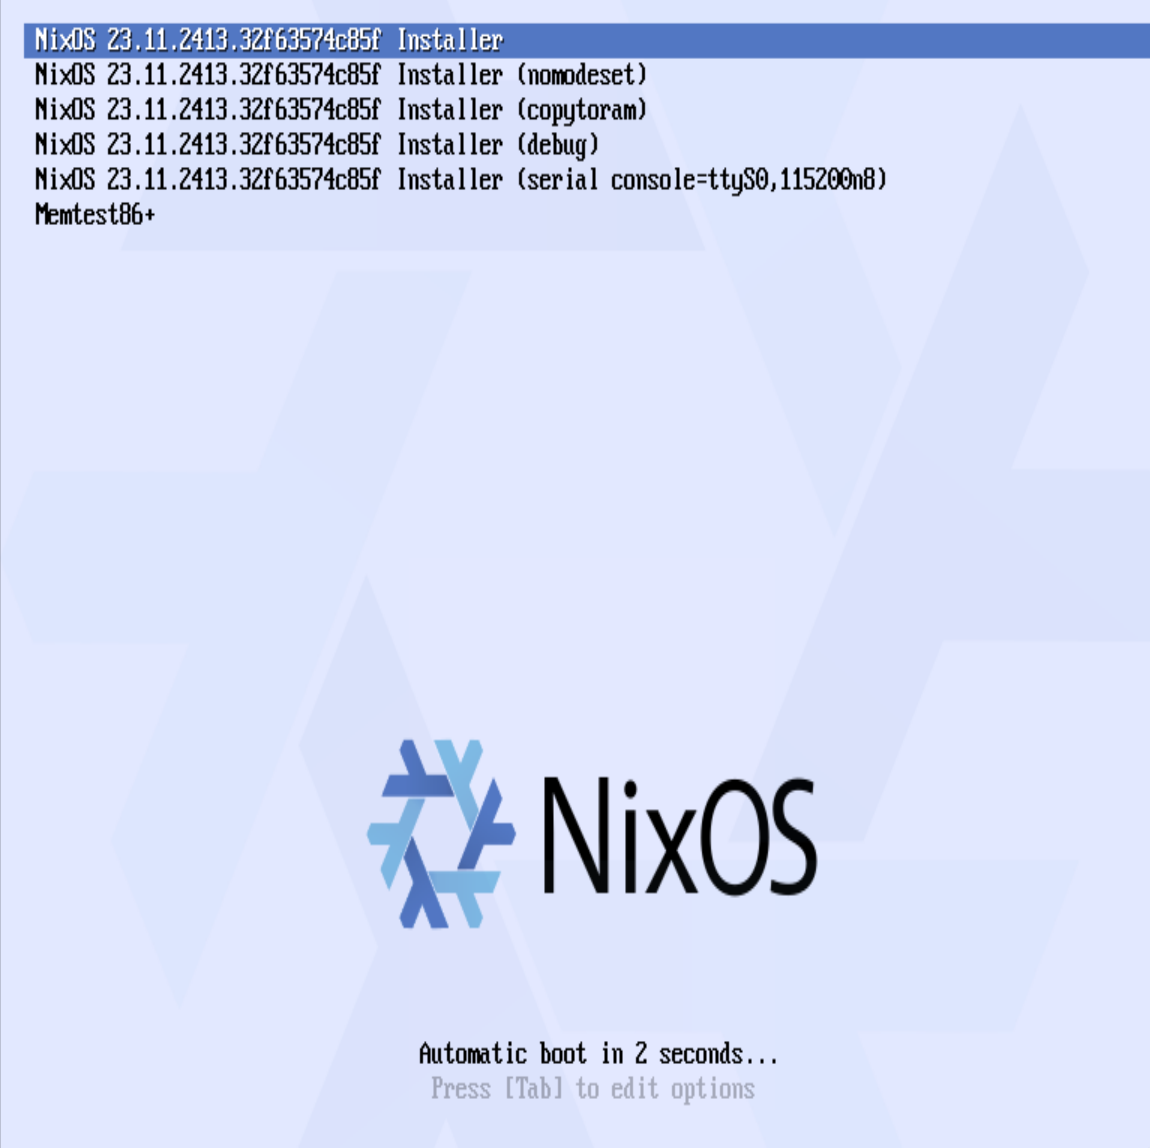
You can wait and you will be automatically booted into the installer.
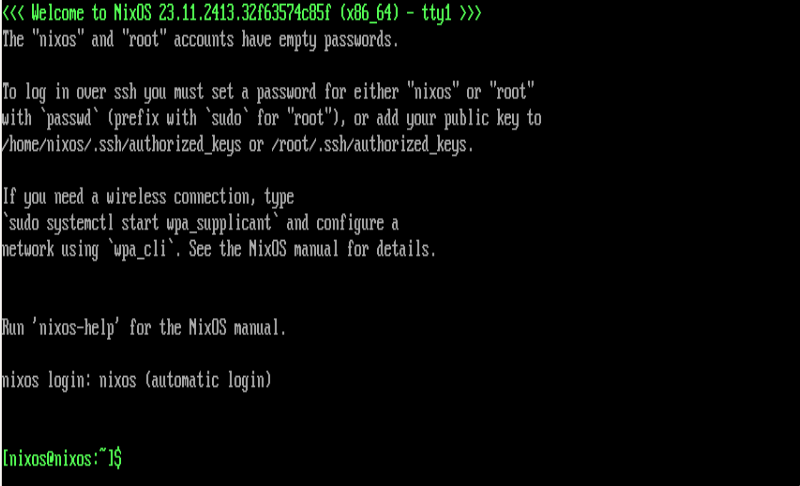
After a few moments, you should then be inside nix and ready to start the installation.
Setting up the devices
Make yourself root:
sudo -i
We need to partition our 20 gig hard drive into a primary drive and a swap. I don't really need the swap but I'll do it here just for show. I'm going to use the MBR specific commands because this is qemu but on my laptop I'll need the uefi partition commands.
parted /dev/sda -- mklabel msdos
parted /dev/sda -- mkpart primary 1MB -2GB
parted /dev/sda -- set 1 boot on
parted /dev/sda -- mkpart primary linux-swap -2GB 100%
Creating the filesystem
Now we can create the ext4 filesystem and create the swap space.
mkfs.ext4 /dev/sda1
mkswap /dev/sda2
Now we can mount the primary drive and activate the swap space.
mount /dev/sda1 /mnt
swapon /dev/sda2
Now everything is ready to install Nix!
Installing nix
We first need to generate the nixos configuration. We will set the root directory to mount so that the nix configuration file gets created properly.
nixos-generate-config --root /mnt
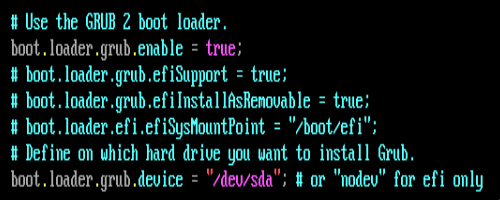
Now we can use vi to edit the /mnt/etc/nixos/configuration.nix file. We need to uncomment the boot.loader.grub.device line so that nixos can boot up from the correct device.
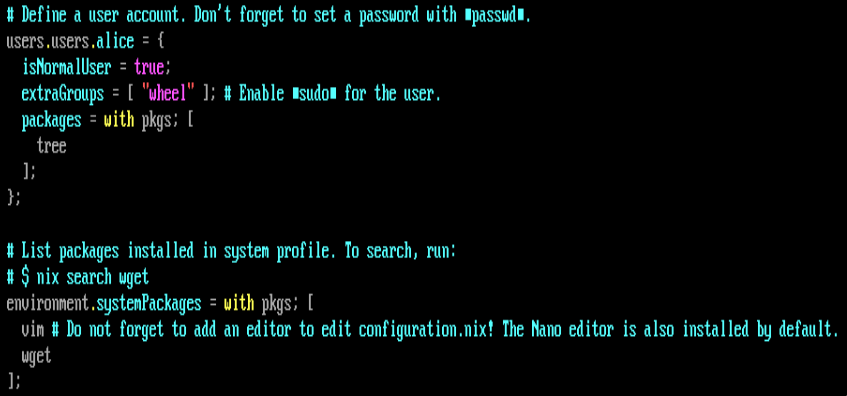
I also uncommented out the user and environment packages section. I want to create a user and also get vim and wget installed.
Once you're happy with the configuration.nix file, we can say the magic words.
nixos-install
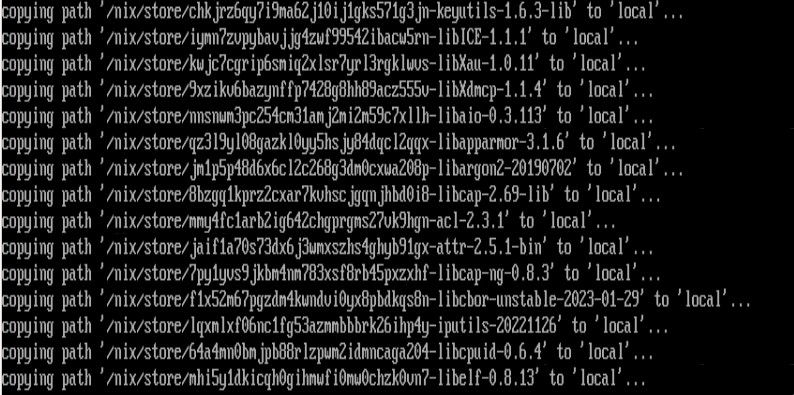
Patiently wait as a bunch of magic scrolls past.
I'm not sure why but this took awhile on my computer. It might have to do with the 2GB ram limit.
Once nix is finished installing it will prompt to set a new root password and once that's finished we are done!
shutdown -h now
Now we can start qemu again but not use the installation iso.
qemu-system-x86_64 -m 2G -nic user -drive file=hd.img,format=raw
I didn't set a password on alice so the first thing is to log in as root and set the user alice with a password.
passwd alice
Once the password is set we done done! We now have nix the os installed and we have a root user and a regular user. We have access to vim and wget and now I can start the real learning of what nix is and how to use it.
Incoming Links
- [ Nix ]